Tuesday, April 8, 2014

How to restore a mural

This past weekend my neighbors and I spent the first nice day of 2014 outside on New Market street fixing up a mural that had recently been tagged with non-artistic and very unwelcome graffiti. It is sad that some people have no respect for the murals that exist in this city, but it's just a part of urban living that nice things can get destroyed. Thankfully, we were able to make a huge dent in fixing the mural up just in one short day.


As you can see from the photo above, the tagging was really extensive. Restoring it was a daunting task--I have never tried to fix a mural before, let alone one spanning about 40 feet across and 10 feet high. I even researched on the internet for tips and guides on how to restore, but there really were no clear cut guidelines that I could find to reference for help. It isn't a perfect method, but here is what I found to be the best way to fix an outdoor mural painted on a concrete surface that's been defaced with graffiti. Also, it is important to make sure you have permission to fix the work up. If the mural belongs to the city or an organization, contact them first. This mural was done by a local resident years ago and is not affiliated with Mural Arts of Philadelphia. 

Before and after picture 

Goof-Off or similar graffiti cleanup spray can be effective to remove the spray paint. You can also purchase environmentally friendly paint remover in large quantities if the paint has been dry for too long and something stronger is needed. I have tried many different products to remove paint, and the easiest, safest and most effective so far is Motsenbocker's Lift-Off, which is also biodegradable and water-based. 

Materials:

Rubber gloves
Ventilation mask
Protective eyewear
Clothes you don't mind destroying 
Small Rags
Old towels
Coarse scrub brushes 
Coarse scrub pads 
Trash bags
Small, sturdy plastic trays (frozen dinner trays/takeout trays work great)


Painting Materials 
Medium or good quality acrylic brushes (Sturdy, synthetic bristles with flat or filbert head)  
A few regular sized house paint brushes 
Paint rollers and trays if needed
Drop cloths 
Buckets with warm water 
Acrylic paint - some can be the tube or tub kind you get at the craft store (these colors are brighter and the paint is thicker) some can be the gallons and half gallons of house paint (the color will be more subdued but the paint goes further--good for large areas of block color). We used both depending on the color. 
Clear sealant/non-yellowing topcoat (for easy removal of future defacing)


I decided we needed to remove as much of the spray paint as possible because we really couldn't see the details of what was underneath without at least trying to strip off a layer. There was a lot of detail on this black and white striped globe, pictured below.The bright tag with black outline on the left was done with silver spray paint, which had to have been the most annoying color to remove. It has a slimy texture and it gums up when the paint remover is applied. You shouldn't need to use a whole lot of effort to see the graffiti begin to vanish.


When you've removef all the graffiti you can, let the surface dry for 15 minutes and begin the painting process. Don't be discouraged if there are layers you can't get off; that is when painting over the damage comes in!

Mixing Color 
Starting with the closest color you have on hand, you'll then adjust the color and saturation. For this blue, I started with a sky blue house paint and toned it down with white, and added a bit of bright yellow to bring it to a slightly more sea-foam color. Paint is always lighter when it is wet, so it should look a shade or two lighter than the color you're trying to match.


(Here you can see my test batches applied onto the original color. The top right corner was the winner after I added a tiny bit of yellow)

If you can't match the paint exactly, consider painting over it with a similar tone that you have on hand. Some colors I didn't have (navy blue, brownish-maroon) so I just matched with what I had (dark blue, and as close to maroon as I could get). Look up "color theory" or "how to mix paint colors" for a basic guide. (And throw out that red/yellow/blue theory while you're at it)


The restoration isn't finished but we got a good chunk accomplished in one day! 

Saturday, April 5, 2014

Spring Window Paintings - Reverse Glass Technique


Window painting is a fun and eye-catching way to spruce up the window of a local business, and is also a unique and creative way to advertise your space. Changing the artwork every few months is a festive way of transitioning from one season into the next. Here, I swapped out the winter scene of the Druid's Keep into a floral toast to nature in the woods. I'll be making some adjustments (adding some birds, making the pint glass bigger and adjusting the bottom of his cloak) but here's the first version.


Reverse glass painting is an easy concept to grasp but a challenging technique to apply. A painter is used to putting down the larger blocks of color first, and the details and accents last. Your mindset must flip-flop in order to make a reverse glass painting visually successful. You also have to have a good idea of what knowing how the painting looks from the outside, since as you are painting you're looking at the back of the image. It's not uncommon for me to run outside in between layers to make sure what I'm putting down looks "right." (That's how you know I'm still an amateur!) The details and outline are created first, so you really have to know exactly what you're going for, otherwise you'll be painting, wiping off and repainting until you get it right. 

You can see that my mistakes here were matching the color of the Druid's robe, walking stick and tree (since I kept him for the winter scene, I was attempting to match the old paint color)


From the inside, it looked like the same color; when I popped my head outside, I realized I was way off! I also got the scale of his pint glass wrong (for now, the Druid will have to suffice with a half-pint of Cider).


For these floral paintings at Inner Beauty Salon in Bristol, PA, I did the bright green streaks of grass first, followed by the yellow dot of the flower buds. Then, I painted a darker green outline of the leaves, and a layer of darker green grass behind the brightest green. Next, I outlined the flower petals in a darker, bolder color. The final details are a lighter color inside the petals. 


To get the paint off, I used a paint scraper, textured rough sponge and water. I found this latex-based paint remover spray to be very effective in loosening up the layers of paint to remove from the window.


Follow me on Pinterest (http://www.pinterest.com/radotornado) to see what will come next for the summer, and for inspiration for all seasons of window painting! 

Thursday, January 30, 2014

Blue Monday: A Group Exhibition at The Mart in Dublin, Ireland


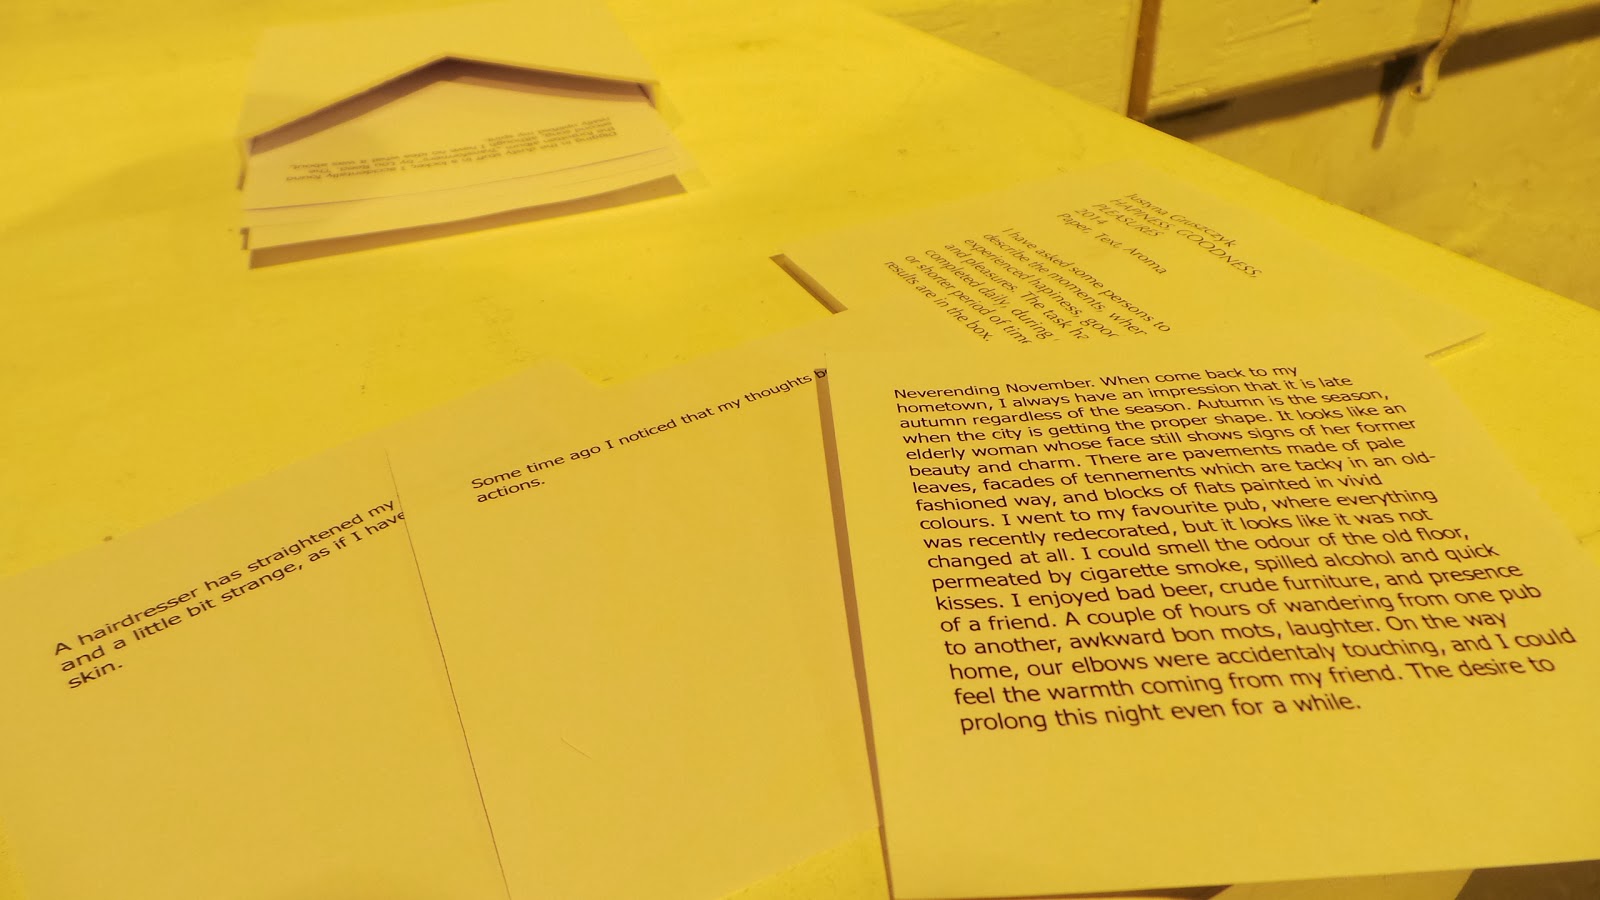
Details and photos from the group show I participated in (and attended)! in Dublin, Ireland last week.
The Mart is "a visual arts organization based in Dublin. Our primary aim is to create a platform for New Media, Installation, Experimental Film and Performance artists to showcase their work."


Exhibition Opens on Blue Monday 20th January 2014 @ 6pm.
www.MArt.ie 

Curatorial Statement by EL Putnam: Instead of using art as a means of amplifying the miseries of life, this exhibition seeks out the beautiful in the little moments of everyday life. Inspired by Arthur Schopenhauer’s notion that art provides relief from the incessant suffering of life, works included in this exhibit are meant to offer respite from an art scene obsessed with its own misery. Taking place during what some argue is the most miserable time of the year, this exhibition will showcase multi-media works that explore themes of beauty, happiness, serenity, and other expressions intending to provide relief from life’s hardships.

Runs 20th Jan – 2nd Feb. Open 2-6pm Daily.

Curated by El Putnam

Artists: Kajsa Bäckström, Liam Campbell, Mary Cooke, Derville Conroy, Justyna Gruszczyk, Anthony Kelly, Helen MacMahon, Rosalind Murray, Rime Otilla Qvale, EL Putnam, Sarah Rado, David Stalling.

Friday, December 27, 2013

Winter Window paintings 2013

Inner Beauty Hair Salon by Gnl- Bristol, PA

Druid's Keep bar, Northern Liberties, Philly- Brown St and Hancock St 
(Will Paint For Beer) 

Liberties Parcel- Northern Liberties, 2nd and Brown
Last but not least, my gingerbread house :-)

Monday, December 2, 2013

Recent work

I was getting an art show submission together and I realized that in 2012/2013, I had been so busy planning my wedding that I haven't put up any photos of my new work. Not only that, but I hadn't documented them, either. Whoops!

The show I am submitting to will take place on 1/20/2014 in Dublin, Ireland and is curated by my friend and longtime collaborator (co-conspirator) EL Putnam. Hopefully I will be attending the show as well. The theme is happiness, against the backdrop of one of the coldest months and the ever-demanding and cynical art world. Here is my submission, followed by some works I haven't posted a clear shot of.
ARTIST STATEMENT:
Part of the artist’s burden is feeling as though we must be always working towards a grand masterpiece. There is a certain loneliness that can take over in the days and hours spent concentrating on and toiling over perfecting a piece of art. The contemporary artist is constantly wondering if his or her art is conceptually sound enough to be accepted by his or her peers, as well as accepted by society. This piece was self-expression at its purest; it was created without prior planning, sketching, thought or worry. Everything seemed to fall into place on this particular wood panel; there was no mistake that needed to be fixed or covered up and the paint dried as it should. Especially in the midst of other failed art experiments, this happy accident was a much-needed breath of fresh air. It reminds me that magic can still happen with my paintbrush (and palette knife). The painting is inspired by is a friend of mine who has an explosively colorful personality; his favorite colour is baby blue.
 Homo Explosion, Acrylic and glitter on wood panel
Peacock Feathers on brick texture (chalk pastel)
Feathers on brick background

Cracked brick study

Tuesday, September 10, 2013

How To: Jackolantern Night Light: A Halloween Lantern Craft Project!


Halloween is approaching and even though its still eighty degrees out, people are pumpkin crazy already! Pumpkin beer, pumpkin lattes- how about those pumpkin shaped apple cider sippers from Millburn Orchards?


Those little guys are just begging to be reused after you empty them of their delicious nectar. Here is how to make them into adorable little lanterns.

Materials: 

-pumpkin shaped sipper bottle  (from your local orchard, possibly the dollar store or the seasonal aisle), 

-plug in night light or battery operated tea light candle (make sure the night light is the low wattage kind- do not use a scentsy/scented wax warming night light, because they get hot)

-black acrylic paint or a fine tipped sharpie/oil paint marker 

-xacto blade


Cut a hole in the bottom of the pumpkin. If you're doing the standalone night light for the battery candle, you can trace the candle to get the right shape. Paint in the face on the pumpkin sipper. Turn off the lights and turn on your candle or night light. Voila! There's your five minute fall craft project!

<iframe src="//instagram.com/p/eGwdX8li_i/embed/"width="612" height=710" frameborder="0" scrolling="no" allowtransparency=true"></iframe>

http://instagram.com/p/eGwdX8Ii_i/

You can also use one in your jackolantern carving!